
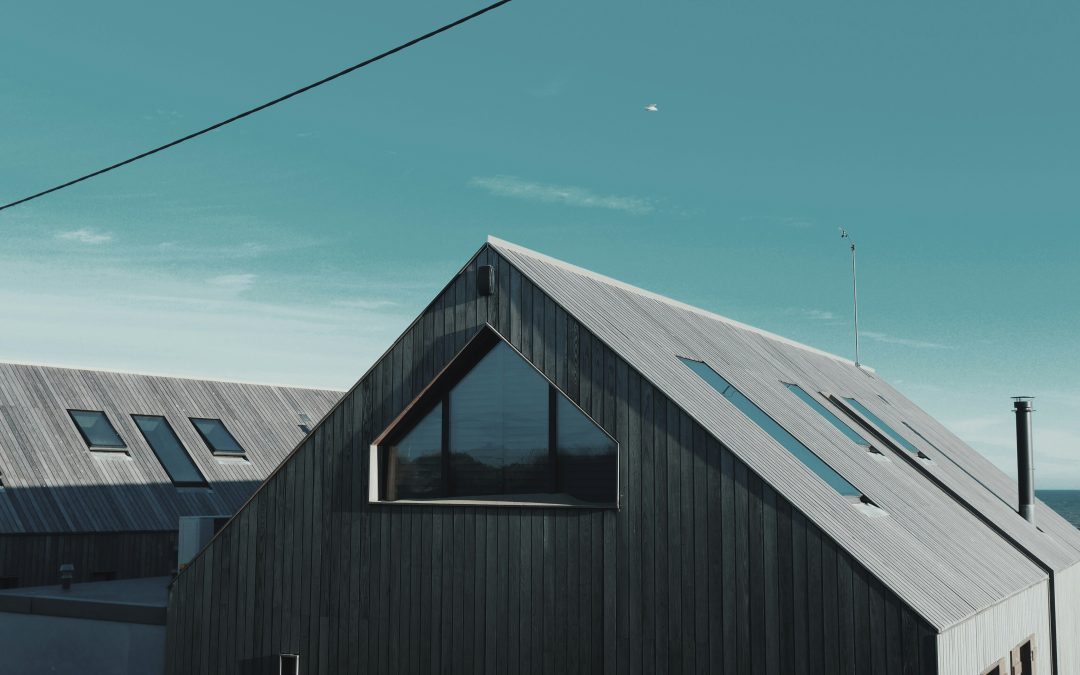
Adding a gable roof over your front door can completely transform your home’s appearance while providing extra protection from rain and sun. Whether you’re aiming for a charming cottage look or a more classic architectural style, learning how to build a gable roof over a front door is a rewarding DIY project that improves both function and curb appeal.
This guide explains everything you need to know — from planning and materials to framing and finishing — so you can build a sturdy, stylish entryway that enhances your home’s exterior.
Why Add a Gable Roof Over a Front Door
A gable roof is the triangular-shaped roof design formed by two sloping sides meeting at a central ridge. It’s simple, attractive, and efficient at shedding rain and snow. Adding a small gable roof or “portico” above your front door offers several benefits.
Weather protection: It shields your doorway from rain, snow, and sunlight.
Aesthetic appeal: It adds architectural depth and character to your home.
Energy efficiency: It helps keep your entryway cooler by blocking direct sunlight.
Property value: It improves curb appeal and increases resale potential.
Whether you’re renovating an older home or customizing a new one, a front-door gable roof offers a timeless and practical improvement.
Step 1: Plan and Design Your Gable Roof
Before building, determine the roof’s size, slope, and style. Measure your front door width and decide how far out you want the roof to extend, typically between 3 to 6 feet for adequate coverage.
Key Considerations:
- Roof pitch: A steeper pitch (6/12 or higher) allows better drainage and creates a more traditional appearance.
- Support posts: Decide whether your roof will attach to the house or use columns for support.
- Materials: Choose roofing materials that match your home, such as asphalt shingles, wood, or metal.
- Building codes: Check local building regulations before starting. Some areas require permits for exterior structures.
Sketch out your design or use a 3D tool to visualize proportions and ensure it complements your home’s façade.
Step 2: Gather Tools and Materials
You’ll need a mix of lumber, hardware, and roofing materials to get started.
Materials:
Pressure-treated lumber (2x4s, 2x6s, 4x4s)
Plywood or roof sheathing
Roof underlayment (felt or synthetic)
Shingles or metal roofing
Galvanized nails and screws
Flashing and drip edge
Concrete mix for post footings if needed
Tools:
Measuring tape, level, and framing square
Circular or miter saw
Drill and hammer
Ladder and safety gear
Chalk line
Step 3: Build the Support Frame
The frame forms the foundation of your gable roof, so accuracy is important.
Install the Ledger Board:
Attach a ledger board horizontally above your front door. Use lag bolts to secure it into wall studs, not siding. Ensure it’s perfectly level, as this determines your roof’s alignment.
Set Support Posts:
If your design requires columns, install two vertical posts on either side of the entryway. Dig post holes 12–18 inches deep, pour concrete, and let it set. Use pressure-treated 4x4s for durability.
Add the Header Beam:
Connect the tops of the posts with a header beam, typically 2×6 or 2×8 lumber. Use metal brackets or bolts for added strength.
Step 4: Construct the Gable Roof Frame
Build the Rafters:
The rafters form the sloped sides of the gable. Cut two identical rafters per side using a circular saw. The angle depends on your chosen roof pitch; for example, a 6/12 pitch equals a 26.6° angle.
Mark birdsmouth cuts where the rafters rest on the ledger and header beam so they sit securely.
Assemble the Ridge Board:
Attach the rafters to a ridge board running along the roof’s peak. Ensure symmetry and center alignment.
Add Collar Ties and Bracing:
Install horizontal collar ties between rafters to prevent spreading and increase structural strength. Add diagonal braces for reinforcement.
Frame the Gable Ends:
Use 2x4s to frame the triangular gable ends, which will hold sheathing and provide a finished look.
Step 5: Add Roof Sheathing and Underlayment
Cover the frame with plywood or OSB panels for roof decking, securing them with nails. Then apply a roof underlayment, overlapping the sheets to prevent leaks. Install flashing along the edges and where the new roof meets your house to keep water out.
Step 6: Install the Roofing Material
The roofing material gives your structure both function and style.
- For shingle roofs, begin at the bottom edge and overlap each row upward for proper runoff.
- For metal roofs, secure panels with screws and rubber washers to prevent leaks.
- Add a ridge cap at the peak for a clean, watertight finish.
- Install a drip edge along the perimeter to guide rain away.
Step 7: Finishing Touches
Add trim, siding, or paint to match your home’s exterior. If your roof includes posts, enhance them with decorative columns, stone bases, or lighting fixtures. Seal all joints and nail holes with weatherproof caulk.
Maintenance Tips
- Inspect shingles and flashing yearly for wear or leaks.
- Keep gutters clear to prevent pooling water.
- Reseal or repaint wood surfaces every few years to prevent rot.
- Tighten bolts and fasteners after strong winds or storms.
Cost and Time Estimates
Building a small gable roof over a front door typically costs between $400 and $1,200 in materials. Professional installation can range from $1,500 to $3,500. A DIY version may take two or three weekends to complete, depending on your skill level.
Final Thoughts
Learning how to build a gable roof over a front door is a practical and creative way to boost your home’s curb appeal and comfort. It’s not just a design upgrade but also a structural improvement that offers lasting value.
With careful planning, precise framing, and quality materials, you can build a beautiful, functional roof that protects your doorway and enhances your home’s character. Even as a DIY project, this is one of the most rewarding exterior upgrades you can tackle.